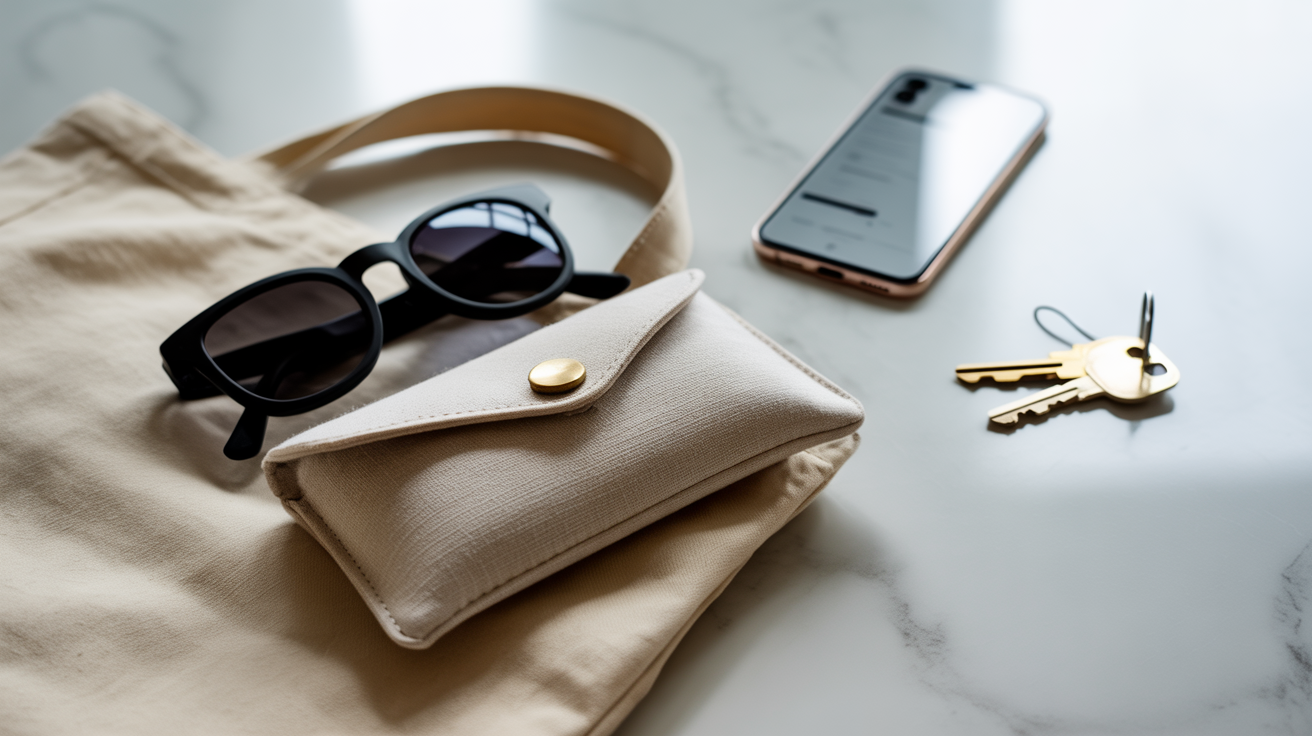
If you’ve been looking for a quick and practical sewing project that’s perfect for beginners, this DIY sunglasses and glasses case is exactly what you need! Not only does it protect your favorite eyewear from scratches and damage, but it’s also a fantastic way to practice your basic sewing skills while creating something genuinely useful.
This soft-sided case is designed to keep your glasses safe whether they’re tucked in your purse, backpack, or sitting on your desk. The best part? You can customize it with any fabric pattern you love—from bold prints to elegant solids—making it a great handmade gift idea too.
Time to complete: 30-45 minutes
Skill level: Beginner-friendly (requires basic straight stitching)
Even if you’ve never sewn anything before, this project uses simple techniques and minimal materials, making it an ideal first sewing project that will actually get used every single day.
Materials & Tools Needed

Fabric & Interfacing:
- Outer fabric: 1 piece, 7.5″ × 8″ (cotton quilting fabric, linen, or canvas work great)
- Lining fabric: 1 piece, 7.5″ × 8″ (soft cotton or flannel for gentle protection)
- Fusible interfacing: 1 piece, 7.5″ × 8″ (medium-weight for structure—Pellon SF101 is excellent)
- Optional batting: 1 piece, 7.5″ × 8″ (for extra padding and cushioning)
Sewing Tools:
- Sewing machine (or hand-sewing needle if you prefer)
- Matching thread
- Fabric scissors or rotary cutter
- Ruler and fabric marking pen/chalk
- Iron and ironing board
- Pins or fabric clips
- Turning tool (chopstick or pencil works perfectly)
Closure Options:
- Sew-on snap (size 14-16mm)
- OR button (¾” diameter)
- OR hook-and-loop tape (Velcro)
- OR magnetic snap
Beginner-friendly alternatives: If you don’t have interfacing, you can use a heavier-weight fabric like denim or canvas for the outer layer. Cotton flannel makes an especially soft lining that won’t scratch lenses.
Prep Steps (Cutting Fabric)
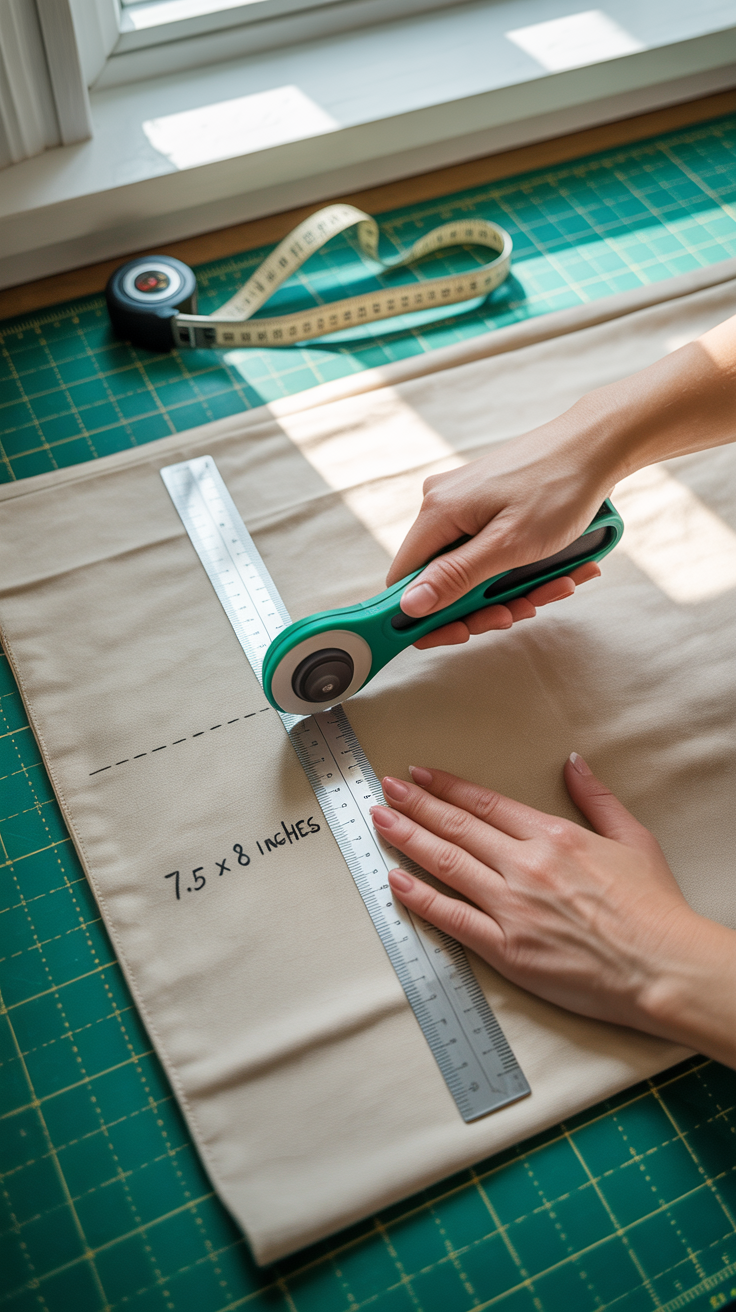
Measuring & Cutting:
- Cut all fabric pieces to 7.5″ wide × 8″ tall. This size works for most standard sunglasses and reading glasses. Use a ruler and fabric marking pen to ensure straight, accurate lines.
- Cut interfacing to the same size (7.5″ × 8″). If you’re adding batting for extra padding, cut that piece to match as well.
Why Measurements Matter:
These dimensions create a finished case that’s approximately 3.5″ wide × 7″ tall when sewn and turned. This size fits glasses securely without too much wiggle room, which prevents them from sliding around and potentially getting scratched.
Tip: If your sunglasses are oversized or you wear large frames, add an extra inch to both the width and height before cutting.
Assembly Instructions Step-by-Step
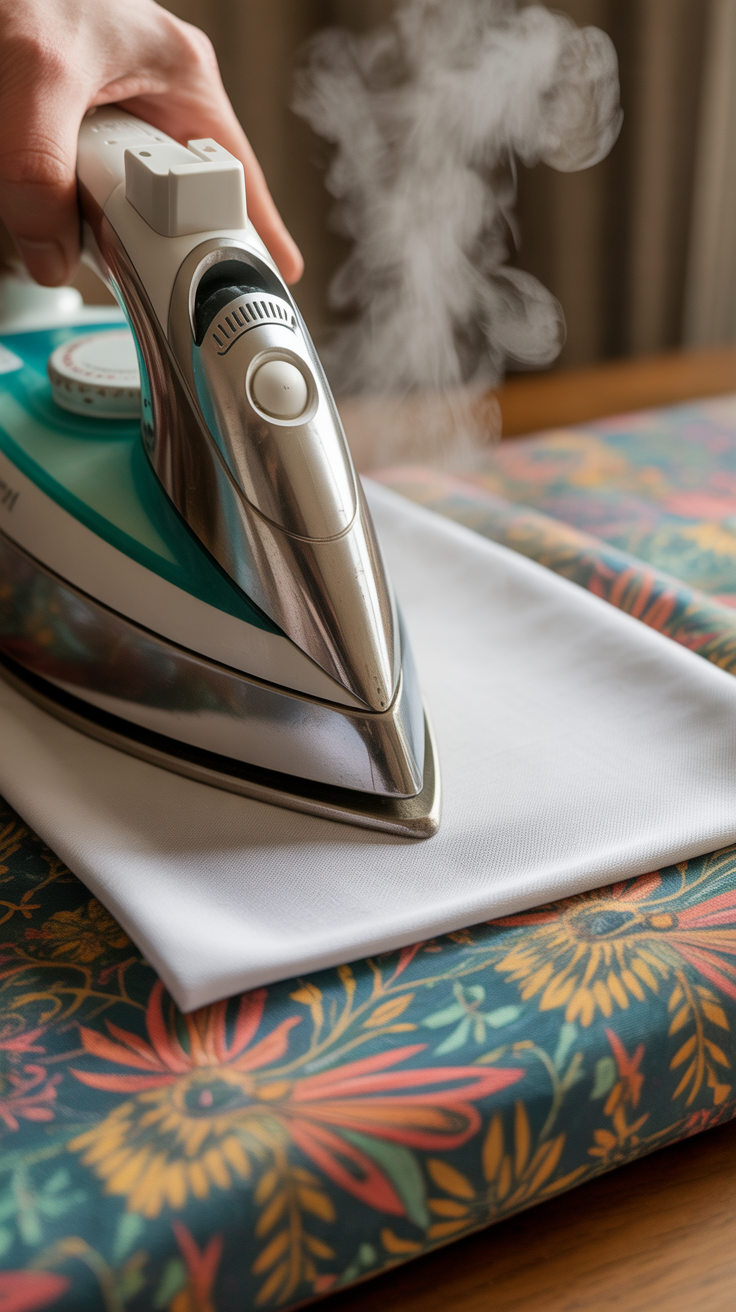
Step 1: Apply Interfacing
Place the fusible interfacing on the wrong side of your outer fabric (the side you don’t want showing). Follow the manufacturer’s instructions—typically, you’ll press with a hot, dry iron for 10-15 seconds, using firm pressure. Let it cool completely.
Step 2: Layer Your Fabrics
Place the outer fabric (interfaced side down) and lining fabric with right sides together. Pin or clip around all edges. If using batting, place it underneath the lining fabric.
Tip: Make sure fabrics are smooth and aligned at all edges before pinning.
Step 3: Sew the Perimeter
Sew around all four sides using a ¼” seam allowance, but leave a 3″ opening along one of the short sides for turning. Backstitch at the beginning and end to secure your stitches.
Step 4: Trim Corners
Carefully trim the four corners at a diagonal, getting close to (but not through!) the stitching line. This reduces bulk and creates crisp, sharp corners when turned.
Step 5: Turn Right Side Out
Reach through the opening you left and gently pull the fabric through, turning the case right side out. Use a chopstick, knitting needle, or pencil to gently push out the corners until they’re nice and sharp.
Pro tip: Work slowly and gently—don’t force the corners or you might tear the stitching.
Step 6: Press Flat
Press the entire case flat with an iron, tucking in the raw edges of the opening so they’re even with the seam. Press this opening closed.
Step 7: Topstitch
Topstitch around the entire perimeter of the case, about ⅛” from the edge. This closes the opening, adds a professional finish, and helps the case hold its shape. Go slowly at the corners for neat, even stitching.
Step 8: Fold and Mark
Fold the case in half with the lining side out (this will be the inside of your finished case). The fold will be at the bottom. Press the fold lightly to mark it.
Step 9: Sew Side Seams
With the case still folded and lining side out, sew up both side edges using a ¼” seam allowance. Backstitch at the top edge. This creates the pocket that will hold your glasses.
Step 10: Turn and Press
Turn the case right side out through the top opening. Push out the bottom corners gently. Press the case one final time, and your glasses case is nearly complete!
Adding Closure (Optional)
A closure keeps your case securely shut so your glasses don’t slide out in your bag.
Snap Closure:
- Fold the flap down as it will naturally close.
- Mark the center point on the flap and on the body of the case where they meet.
- Hand-sew a sew-on snap at both marked points, following the package directions.
- Alignment tip: Use a fabric marking pen and ruler to ensure the snap halves line up perfectly.
Button & Loop:
- Create a small loop from thread or thin ribbon.
- Hand-sew it to the center of the flap.
- Sew a button to the corresponding spot on the case body.
Magnetic Snap:
These provide a sleek, hidden closure. Install before assembly (Step 2) by following the package instructions—they typically require small slits in the fabric and backing washers.
Velcro/Hook-and-Loop:
Cut a small piece (about 1″ wide) and hand-stitch or machine-sew one half to the flap and one to the case body.
Finishing Touches & Tips
For a Professional Finish:
- Press, press, press! Ironing at each step makes a huge difference in the final appearance.
- Match your thread color to your outer fabric for nearly invisible topstitching.
- Use a slightly longer stitch length (3.0mm) when topstitching for a clean, modern look.
- Clip threads carefully—snip all loose thread ends close to the fabric for a tidy finish.
Customization Ideas:
- Add embroidery or monogramming to the flap before assembly for a personalized touch.
- Use patchwork or quilted fabric for the outer layer to create a unique, artistic look.
- Choose contrasting fabrics for the outer and lining—when the flap folds over, you’ll see a pop of the lining color.
- Add a small fabric tag or label to brand your handmade creation.
Beginner tip: Start with a simple, small-scale print that hides wobbly stitches better than solid colors while you’re learning!
Project Variations
Once you’ve mastered the basic case, try these fun variations:
Padded Case:
Add a layer of quilting batting between the outer fabric and lining for extra cushioning. This is especially great for expensive sunglasses or delicate frames.
Quilted Version:
Use pre-quilted fabric for the outer layer—it adds texture, structure, and protection without extra steps.
Size Variations:
- Kids’ glasses case: Reduce dimensions to 6.5″ × 7″
- Oversized sunglasses: Increase to 8.5″ × 9″
- Reading glasses (slim fit): Try 7″ × 7.5″
Hard Case Insert:
Sew the soft case slightly larger and slip it over a hard eyeglass case for double protection and a custom look.
Zipper Closure:
For advanced beginners, install a zipper along the top opening instead of using the fold-over flap design. This creates a more secure pouch-style case.
Travel Set:
Make matching cases in different sizes for sunglasses, reading glasses, and prescription glasses—perfect for organizing while traveling!Conclusion & Call-to-Action
Congratulations! You’ve just created a beautiful, functional glasses case that will protect your eyewear for years to come. This beginner-friendly project proves that you don’t need advanced skills to make something truly useful and lovely.
Whether you keep this case for yourself or gift it to a friend, you can feel proud knowing you made something practical with your own hands. Plus, with fabric costs typically under $5 and such a quick completion time, this makes an excellent handmade gift for teachers, coworkers, or anyone who wears glasses.
Save this tutorial! Pin this post to your sewing board so you can find it again when you’re ready to make more.
Share your creation! I’d love to see your finished glasses cases—tag me with photos of your fabric choices and finished projects. Seeing what colors and patterns you choose is always the best part!
Ready for more beginner sewing projects? Check out these related tutorials:
- Simple Zipper Pouch for Beginners
- No-Sew Fabric Bowls (Perfect for Scrap Fabric)
- Easy Drawstring Bag Tutorial
- Beginner’s Guide to Quilted Coasters
Happy sewing, and may your glasses always be protected and easy to find!